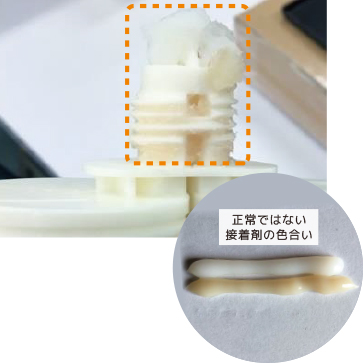
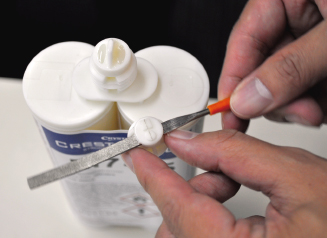
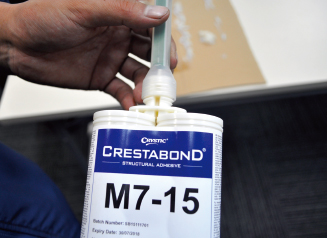

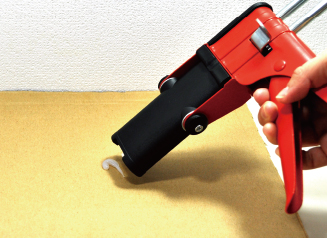
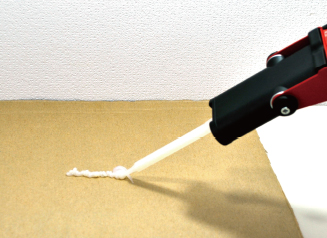
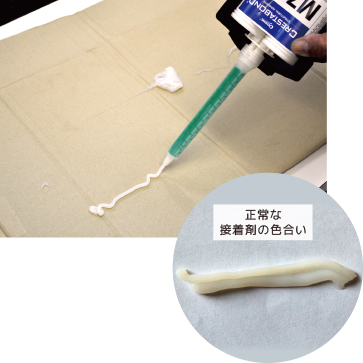
Example of good condition

The surface is glossy and can
be discharged smoothly.
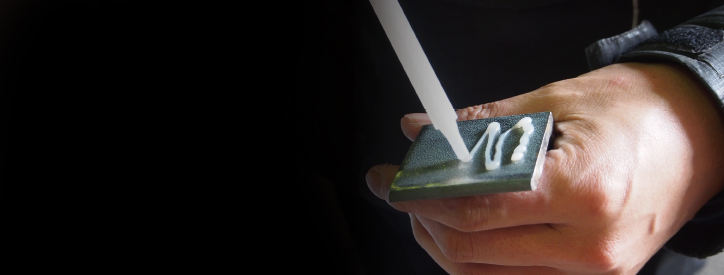
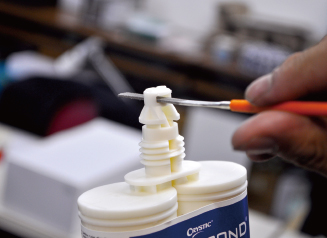
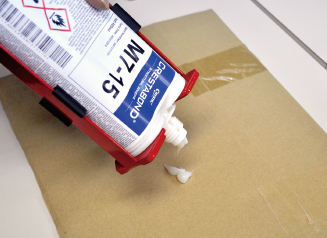
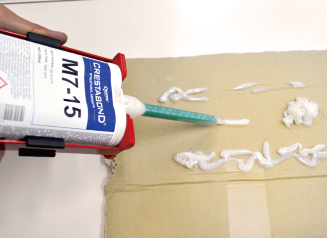
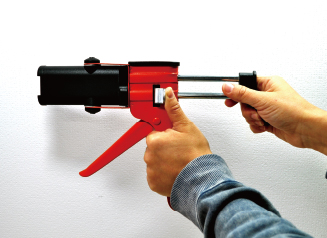
1.Before applying to the adhered, be
sure to make a blank shot to check the
condition of the adhesive.
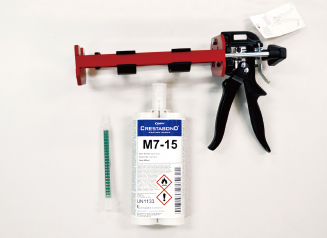
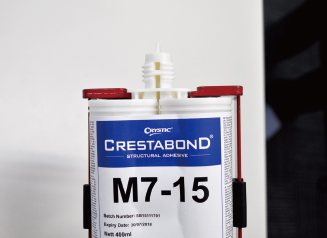
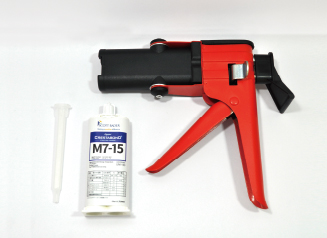
2.Curring time varies depending on the
temperature and type(M7-05/M7-15).
The curing time on the catalog is at about
23℃. Generally, the higher the
temperature, the shorter the curing time,
and the lower the temperature, the
longer the curing time.